Monday, October 22, 2012

Lock it in Eddie...

Handover has now been booked for Friday the 2nd of November, which means that in only 12 sleeps the keys will finally be ours! Huzzah!

Still quite a bit to do before then:

  • Fireplace to be installed
  • One cracked window to be replaced
  • Plumbers to come back to finish their fit-off
  • LPG to be installed
  • Air-conditioning installation to be finalised
  • Painting touch-ups
  • Skylight to be installed in the study
  • Our people to come in and install the carpet

In the meantime, we have some steps to the laundry and dining room doors:


Today Ben finally finished installing the last of the front retaining wall. Only the last little bit of back-filling to go now (and cladding, but that will come later).


Monday, October 15, 2012

Taps and walls...

This weekend work continued on the front retaining wall....and when I say work continued, I mean that Ben worked on the wall while I attended various breast cancer awareness lunches and Guide cooking days! It's a hard life...

Even with all of Ben's hard effort over the past three days, the wall is not quite complete yet. I'm away camping with the Guides this coming weekend so Ben is going to have another weekend working on the wall all by himself.

We do have a few pictures of his work in progress so far though. In terms of materials, we have just gone with standard concrete sleepers. They look a bit ugly at the moment, but at least this means that the soil is not going anywhere. Eventually though, these will be faced with stone to make them look a bit prettier. This is one of many jobs on the landscaping "to do" list.


Lots of progress has been made inside too, tidying up those last little jobs. The electricians have been back on site to hang the servery light:


The plumbers have installed all of the toilets and tapware:


Laundry sink


En suite


Main toilet


Kitchen sink

Outdoor tap


PK is expecting the Certificate of Occupancy to hopefully arrive by the end of the week, so not long to go now!


Wednesday, October 10, 2012

Compromises....

This is a post about compromises.

Understandably, when you consider the building process typically extends over many months it is no surprise that things can change. Sometimes these changes come from us (like our garage strappings) and other times it comes down to the builder or their suppliers. Suppliers go out of business, products get discontinued, humans make mistakes...these things happen.

Fortunately, we have been reasonably lucky with changes over the course of our build. Keogh have been very happy to accommodate our last minute mind changes and additions (of which there have been a few), so I suppose it was time for us to return the favour.

First compromise - tiles. The tilers have been delayed for a week or so as we have been waiting to hear back from Hynes about the status of the tiles we had picked for the kitchen and laundry walls. We thought they were pretty standard tiles, but apparently they are not popular enough and have now been discontinued. The tilers tried to find us some extra stock, but no luck...damn.

The ones we originally picked were similar to this - just standard cream "fish and chip shop" style rectangle tiles

In the interests of keeping things moving along, we decided to just go ahead and continue using the small square tiles from the kitchen splashback through to the kitchen and laundry walls. I think it has still come up very nicely - a successful compromise!

Kitchen bench

Kitchen sink

Laundry


The next compromise was the fireplace mantle. You might remember this mantle and set of hearth tiles that we had bought to go in the family room:


Unfortunately, when Ben dropped the mantle off on site a few weeks ago, he found that the wall for the fireplace has been built approximately 200mm too narrow for this particular mantle...damn. This was one of the only areas we forgot to double-check the original measurements of during the framing stage, which makes it all the more annoying. However, upon checking the original plans it looks like the measurement error started out right at the beginning, before a single piece of timber arrived on site. Somehow it managed to slip through the net...damn.


Due to the style of the mantle, we could not just "shave a bit" off either side to make it fit - a whole new mantle was required. The heath tiles also needed to be changed as they were glued down quite securely to the baseboard, the width of which extended even further past the mantle. 

Luckily, eBay to the rescue! We managed to secure an unstained mantle that would fit the both the wall space and our cast iron insert (we triple checked the measurements this time!). We sent it off to Keogh to be stained to match the front door, and it has now arrived back onsite ready for installation.


Mantle in pieces


"Owl" corbels 


We also bought some new tiles for the hearth...we decided to change the colour to a deep burgundy to bring out some of the red colouring in the floorboards:


And finally, a sneak peak of the insert with the feature flower tiles to match the hearth tiles...can't wait to see it all put together!


Sunday, October 7, 2012

Digging to China...

Today was digging day. 

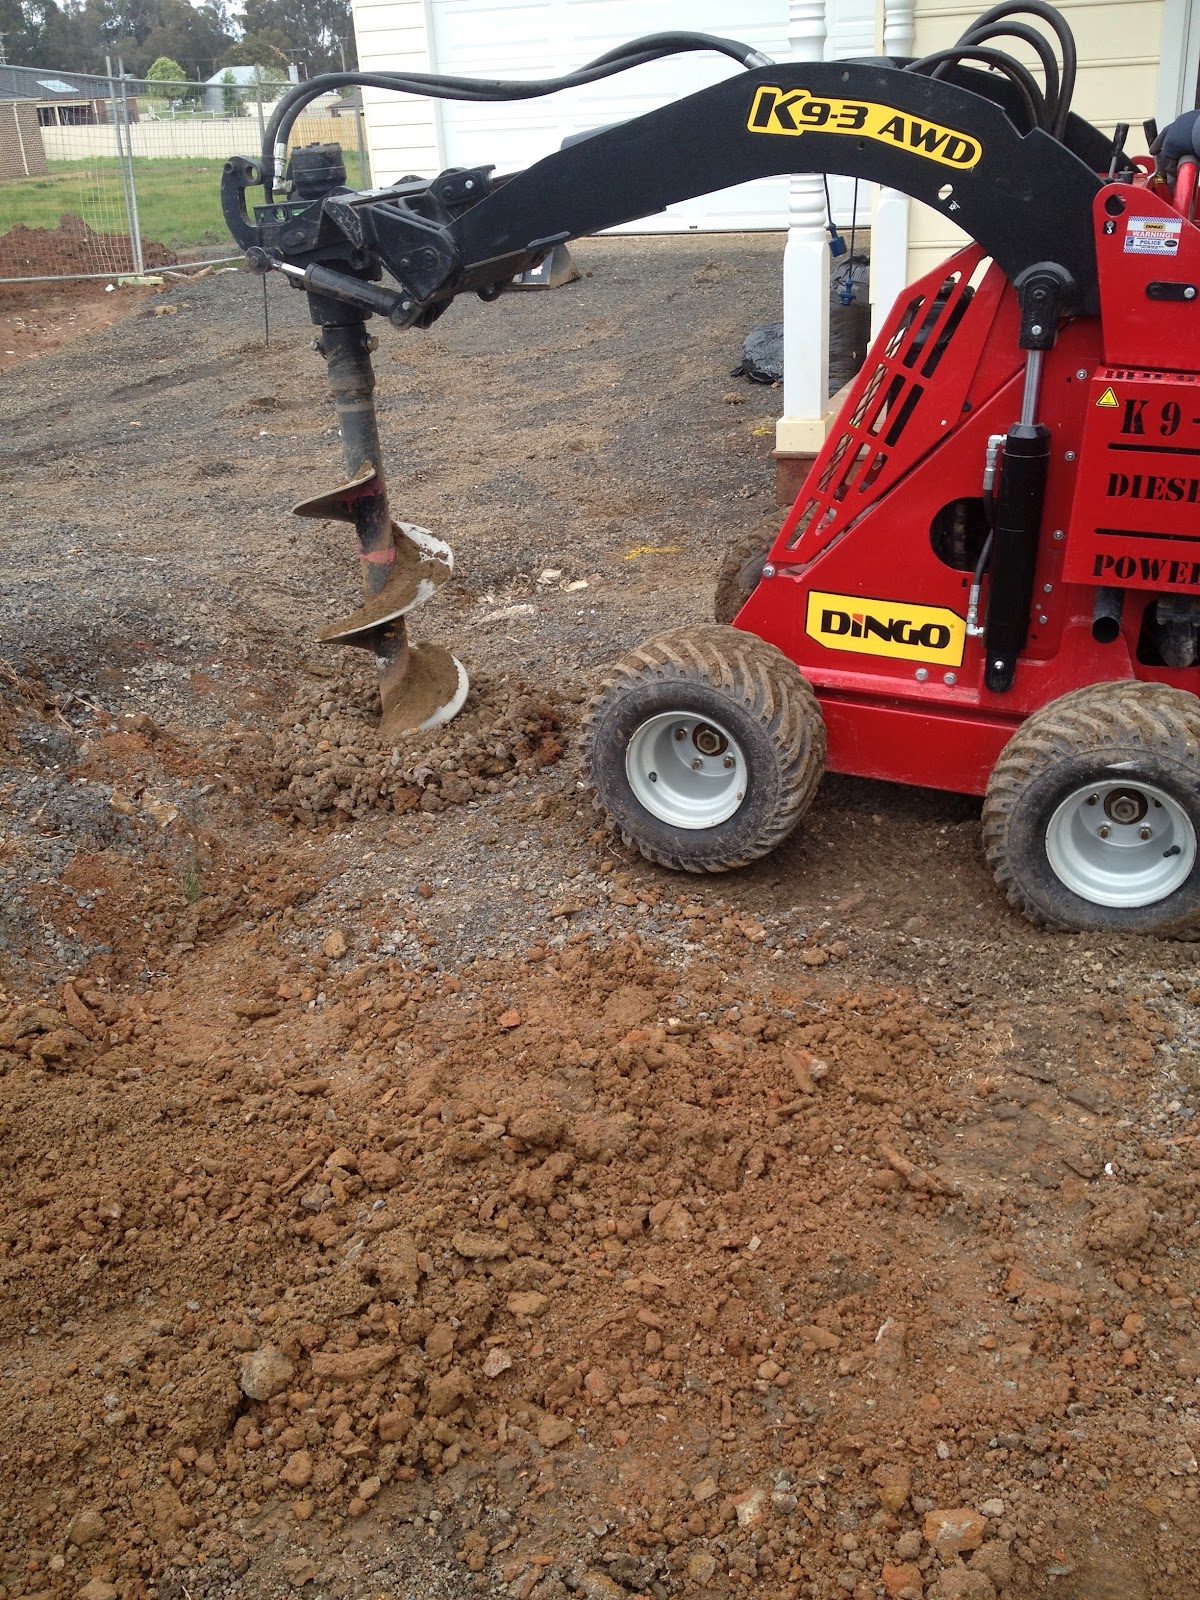
The front and side retaining walls just outside the house need to be installed before we can move in. Now that we finally have the building permit, today we hired a dingo and auger and drilled out the post holes.

First up though, moving the big pile of leftover crushed rock in the front corner. Ben set me up with a shovel, and it was my job to move the big pile onto the next level out of the way...it was a big pile of rock:

Took me about 20 minutes to move this much rock...very slow progress
Tough work...little did I know that Ben made me stick it out for about 20 minutes before coming along with the dingo and removing the whole pile in about two minutes!


Then came the real work...digging holes. Who would have thought holes could be so complicated?! With all of the measuring, working out the line, checking the measuring, double-checking the line, and getting the dingo lined up properly against these measurements, it took us about two hours to get the first three holes dug. Luckily, after the third hole we finally got the hang of it and managed to smash out the next seven in about 45 minutes. Ben has now decided that he might do a bit more of the hard landscaping himself. He says it is to save money, I think it's just so he can ride the dingo again!


My job was to dig out the loose soil after the auger - felt like I was digging to China! It also turns out that we sited the house in the right spot, as we came across rock in most of the front holes - luckily we came across hardly any during the actual build, or else that could have been expensive.


Now that's a deep hole!
There was some very tricky manoeuvring to get these holes down the side of the house done. The ones outside the kitchen will unfortunately need to be done by hand as the space is too narrow for even the smallest dingo. That will be a job for next weekend when the concreting starts...so, who's free next weekend?!


Meanwhile, inside the house we got a pleasant surprise as it looks like someone has been on site in the last day to install the shower screens, mirrors, and fly screens. 


I'm not sure the fly screen on the sliding door is going to stand up to the "doggy test" though, so we may need to look at some reinforcements once we actually move in. Considering that Oscar is a big fan of trying to let himself inside the house and Kody has been known to run through glass doors in the past, I think the current one may last all of about two minutes with those two.


We are getting very close to completion now. It was a pretty amazing feeling to walk around the house with the knowledge that in just a few weeks, we won't have to leave at the end of the day...


Saturday, October 6, 2012

Well polish my knuckles and call me Susie....

Steve the floor polisher worked very hard this week, and managed to finish up everything by Thursday.    Very pleased with how it has all turned out:


Here's a close-up of the "firestreak" effect:


Tomorrow we are going to have a very busy day on site starting to dig the holes for our front retaining wall. I have been sick this week, so I guess this actually means that Ben will have a busy day digging, and I will have a busy day supervising...photos of our handiwork to come later tomorrow.

Monday, October 1, 2012

Floor sanding, day one...

Today was day one of the floor sanding and polishing, which involved giving the floors a thorough sanding and laying down some black putty.

Tomorrow the sanding and putty-ing will continue, and the polish will go down tomorrow afternoon. Three coats of polish later, and our beautiful floors will be done...can't wait!


Thursday, September 27, 2012

Let there be light...

How many mystery writers does it take to change a light bulb? 
Two. One to screw the bulb almost all the way in, and one to give a surprising twist at the end.

Ben stopped by for a site visit yesterday afternoon to drop off some extra hearth tiles for our fireplace, only to find that the electricians had been on site for most of the day finishing their installations. What does this mean? We finally have working lights!

We needed to drop off a few more things on site so last night we decided to make a second trip up after I finished work - which is why we have a mixture of shots taken at dusk and at night.

First of all, here is a close-up shot of our pretty chandelier. Looks very nice, but at the moment only two of the globes seem to be working (even with new globes in them). We still need to work out if this is due to a problem with the wiring efforts of the electricians, or a problem with the chandelier itself. So it may yet need to be replaced...hope not though.

I love the way it throws out the "bubbles" of light across the roof

Here is a long shot of it looking down the hallway:

This looks similar to the style of my work office - aren't I lucky!

And from another angle:


Now for a tour of the rest of the house. First stop, the coach lights on the front verandah and the garage:


Moving to the inside of the house, the master bedroom:


In our current bedroom at home we have a similar set-up to this, with a pair of downlights just in front of our big bedroom window. It works really well at providing just enough ambient lighting in the room, so this was something that we really wanted to carry through to the new house:


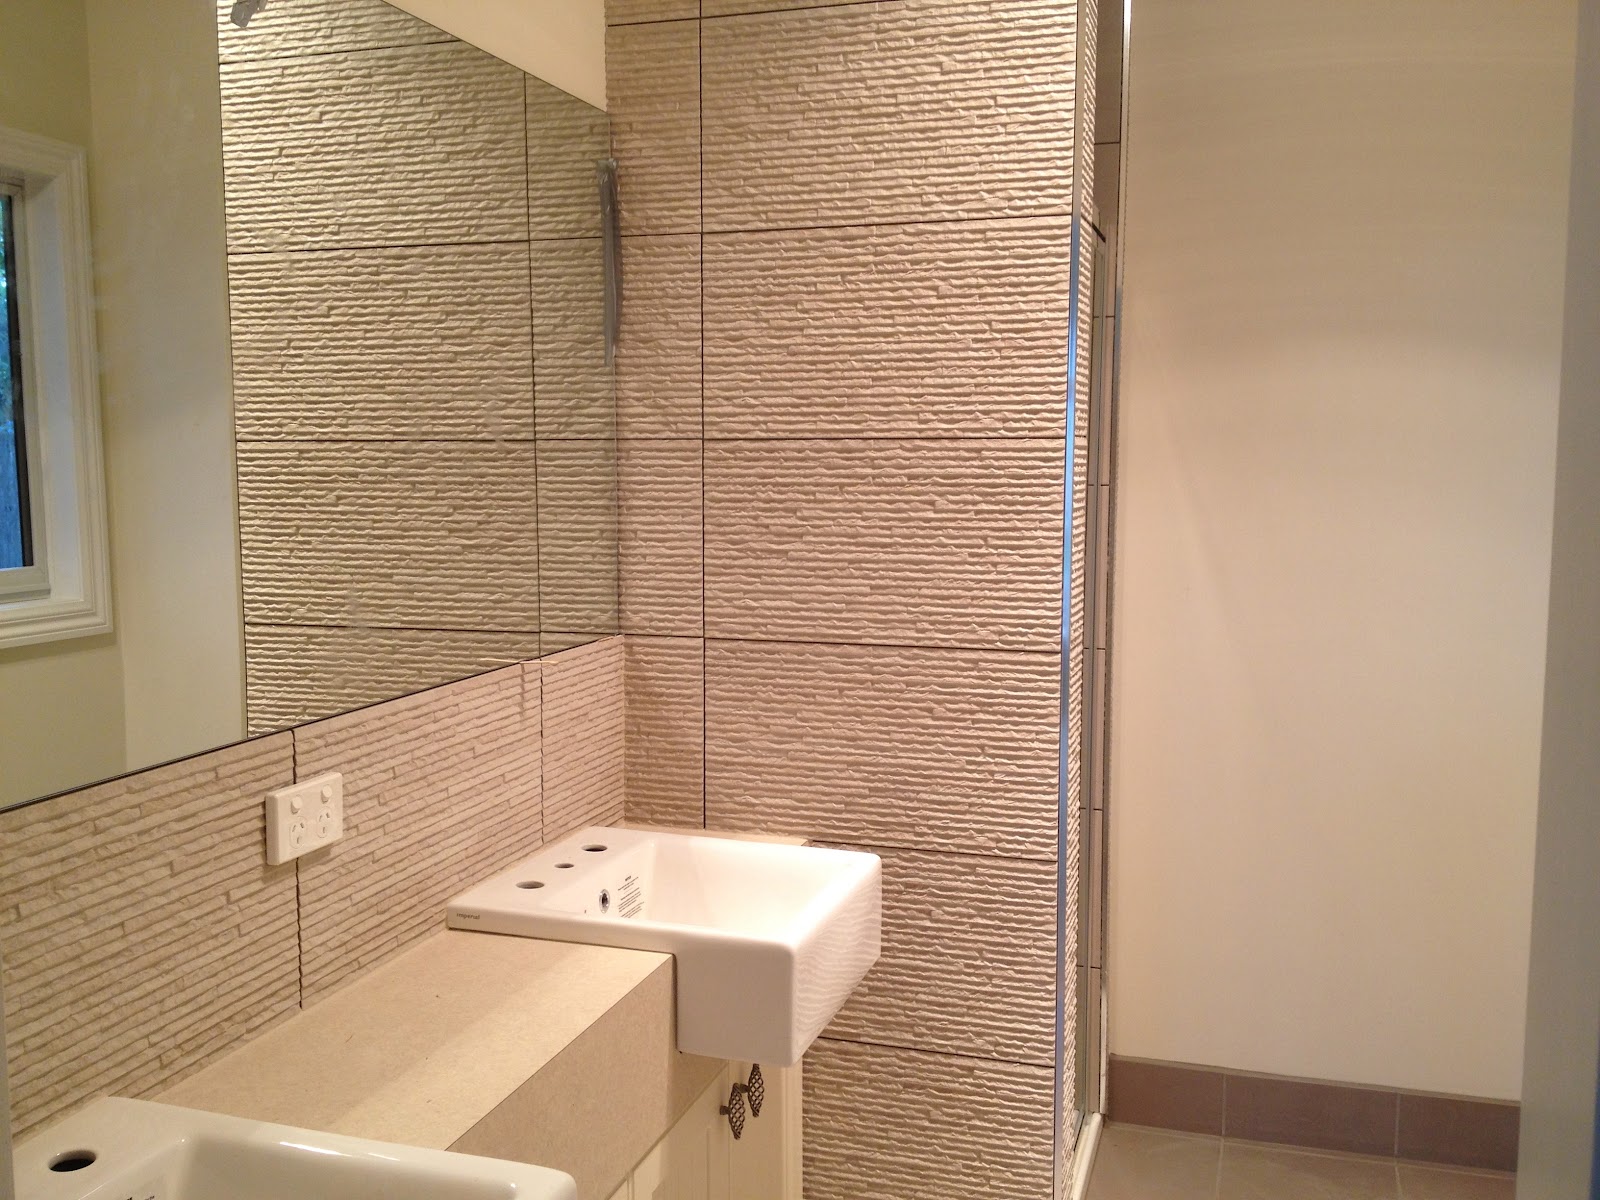
The ensuite tiles have now been fully laid, just a bit more grouting to go:


Bathroom also done:


The kitchen during late afternoon and at night. Think we might have gone a bit overboard on the downlights considering the servery light still needs to be installed above the bench, but we have put the different areas on different circuits so they don't all need to be on at once.


Family room:


Theatre room (although it is difficult to get any good shots in this room given it is so dark!):


Study:


And finally, the garage: